Showing posts with label keeping-it-simple. Show all posts

Wednesday, July 23, 2014

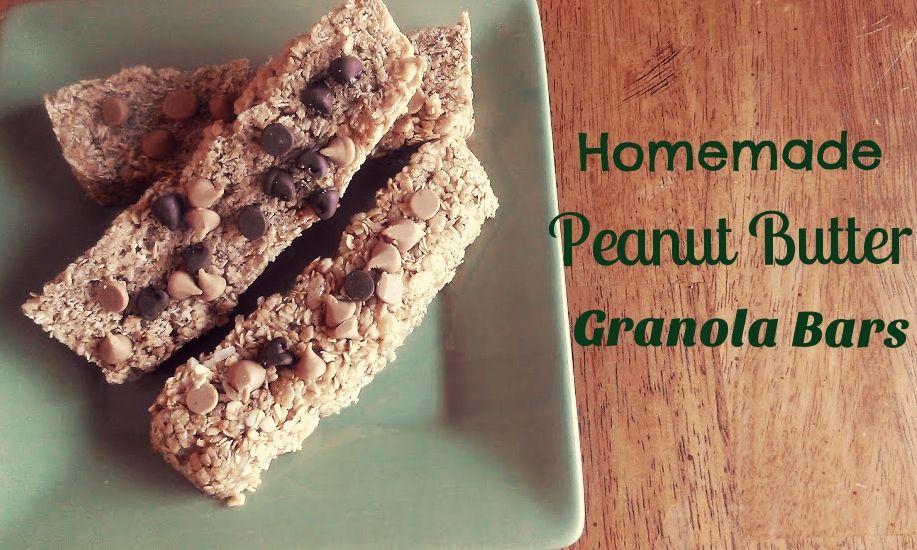
What I Ate Wednesday - Homemade Peanut Butter Granola Bars


Follow me on Pinterest for more tested and approved recipes!

Saying that Andy eats a lot of granola bars would be an understatement. It's more like a butt-ton (a personal favorite unit of measurement) of granola bars. Every morning for breakfast. And he can eat 2 of them without being even close to satisfied. So, me being me, got tired of spending lots of money on granola bars and wanted to try to make them on my own. And it has to be healthier, right???

I followed this recipe for no-bake granola bars and it was easy and fast! As usual, I didn't exactly follow the directions and I definitely didn't measure anything... so here is my interpretation of the recipe! It made 5 large (I'm talking probably 3 times the size of a store-bought one) granola bars and Andy has approved this recipe!

Ingredients:

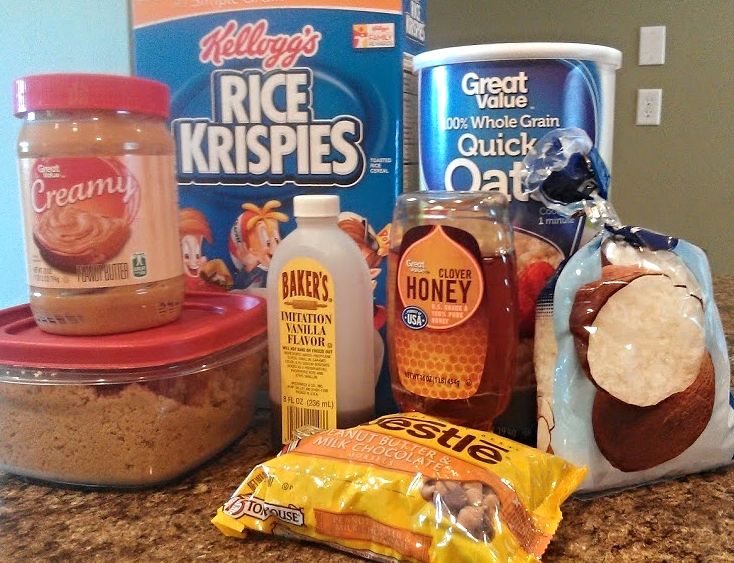
  • 2 cups quick cooking oats
  • 1 cup Rice Krispies
  • 1/4 cup shredded coconut
  • 1/2 stick of unsalted butter (I plan to use 1/2 of that amount next time to cut back on calories)
  • 1/4 cup honey (I may use maple syrup in the next batch - honey is expensive!)
  • 1/2 cup light brown sugar
  • 1/2 tsp salt (original recipe called for this but I left it out)
  • 1/2 tsp vanilla
  • 2 tbs peanut butter
  • 1/4 cup mini chocolate chips
Instructions:

1.  In a large mixing bowl, mix together the oats, cereal and coconut.  Set a small saucepan over medium high heat and melt the butter.  Add the honey, brown sugar (and salt if you wish). Stir together then leave it alone as it comes to a boil.  Once the boil has reached all the way around the edges of the pan, begin timing.  Allow this mixture to boil for 2 minutes and 15 seconds. (I only did 90 seconds because it got out of control - my bad.) Add the peanut butter at the end of this and stir in completely.
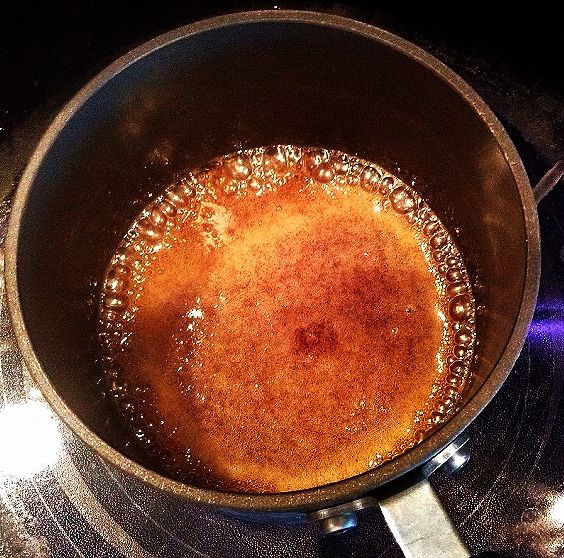
Heat that deliciousness to a rolling boil - but keep an eye on it!

2.  Pour the mixture over the oats. Mix the ingredients together until the oats are completely coated.  Let cool before adding chocolate chips.
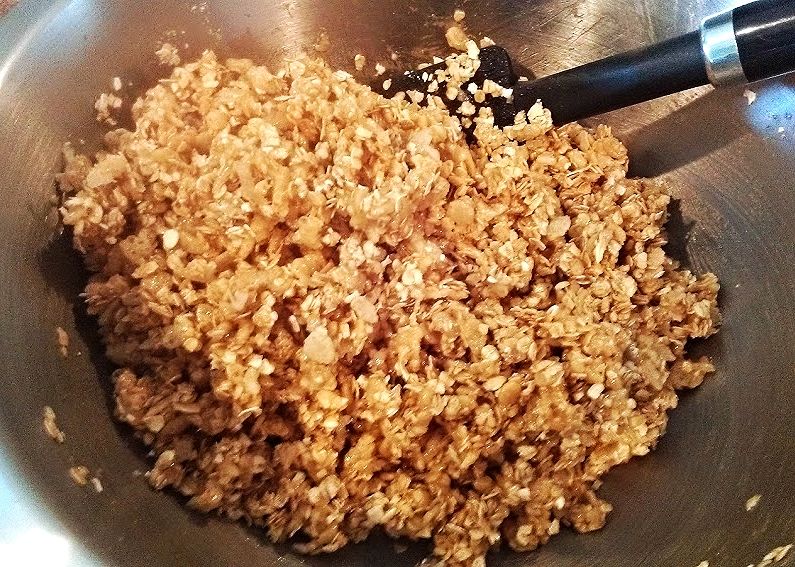
Mix it all together - you're almost done... already!


3. Press very firmly into a lightly greased pan. (The original recipe calls for a 9x13 pan but I used one about 1/3 the size of that because I wanted super thick bars)  If you do not press firmly enough, the bars will fall apart when you eat them.  Place them in the fridge for 20 minutes then cut to size. You can add additional toppings at this point and then wrap in saran wrap or store in re-useable containers. Enjoy!
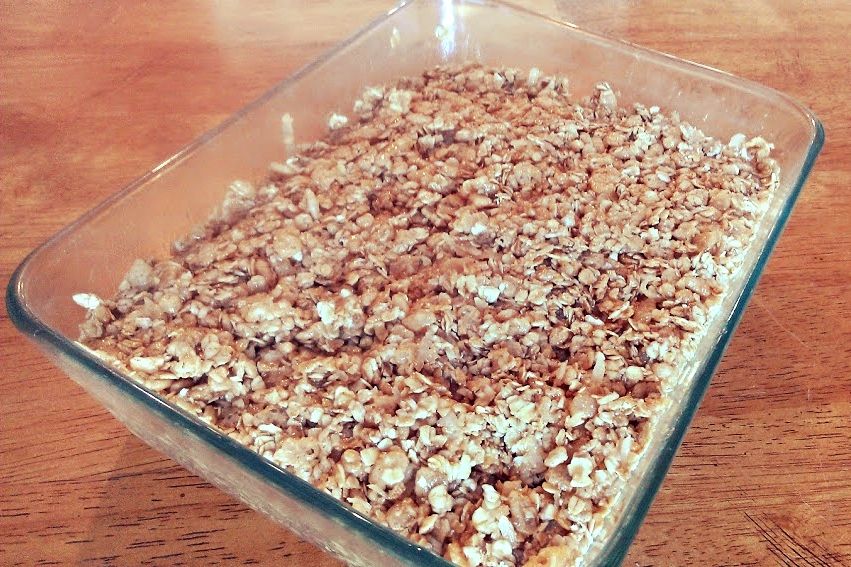
Feel free to go crazy with the toppings! Or just leave them plain... your choice!


Total cost: I'm not really sure because I only had to purchase the oats and Rice Krispies - everything else I had on hand! But it sure does feel a lot less expensive than buying 2 or more boxes of granola bars a week!

Variations I plan on trying: Pumpkin pie, white chocolate, dark chocolate and almonds, dried berry, candy bar, maple bacon! I'll let you know how it works out!

Check out additional variations via the original posting on Made From Pinterest!

Friday, July 18, 2014

Keeping it Simple with Homemade Taco Seasoning

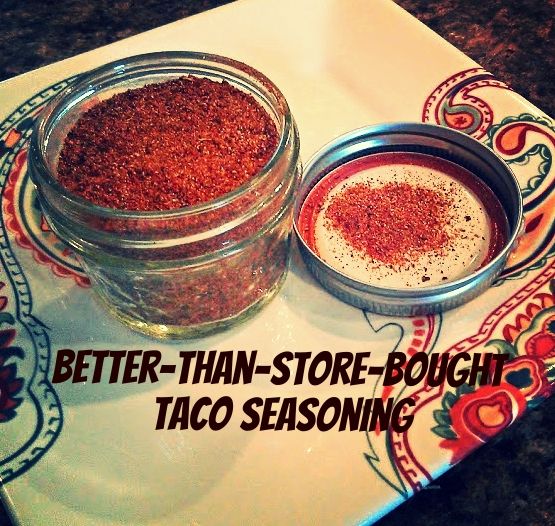
Have your dinner plans ever been knocked down because you ran out of taco seasoning? For some reason I could never keep taco seasoning stocked in my cabinets... I'm not sure if we just went through it so quickly or I kept forgetting to buy it but I never had any! It was a very frustrating predicament to have especially when I went through the effort of meal planning and then had to deviate. Well, a few weeks ago I decided enough was enough and I raided my spice cabinet and made my own taco seasoning. It was delicious. I will never go back to the packaged, processed, extra salty stuff ever again.

Follow me on Pinterest for more delicious recipes!

I made a quadruple batch of this recipe that I found on Pinterest and I store it in a little mason jar. So cute! So thrifty! So delicious! I found out that I already had almost all of the ingredients in my cabinet so I only needed to buy one additional seasoning the next time I went to the store. I have used about a tablespoon for each 1/2 pound of ground turkey that I make (the heck with ground beef, we love ground turkey in the household!)

Try it for yourself and see what you think!

Ingredients: (for 1 oz.) I quadruple this so I can have some ready at all times!
  • 1 tablespoon chili powder
  • 1/4 teaspoon garlic powder
  • 1/4 teaspoon onion powder
  • 1/4 teaspoon crushed red pepper flakes - (I may or may not have used a tad extra... Hint: I did.)
  • 1/4 teaspoon dried oregano
  • 1/2 teaspoon paprika
  • 1 1/2 teaspoons ground cumin
  • 1 teaspoon sea salt (I skip the salt completely... it doesn't need it!)
  • 1 teaspoon black pepper

Instructions: You literally combine all ingredients in a small bowl and store in an air-tight container. Yay!

Fun fact! I used this taco mixture to season the ground turkey for the $2 Taco Salad!

Friday, July 11, 2014

3 Awesome Wedding Gifts


Follow Oh.em.gee it's Nikkie on Facebook so you never miss a post!
My sister is getting married in December (Yay, Jenn!) and I have been contemplating what to get her for a wedding gift for, oh, maybe a year or so. They recently put together their wedding registries and it got me thinking about what I would have put on mine if I were to go through all of that again. (Side note: I never plan on going through the headache of wedding planning again, so you're safe for now Andy!) What are the most useful gadgets in my house? What do I use the most? What would be the.most.awesome. wedding gift to give?

I compiled a list of the 3 things that I use on pretty much a daily basis that I think would make awesome wedding gifts (Spoiler alert: LOOK AWAY NOW, JENNIFER!)  and this is what I came up with:

1. Calphalon Nonstick Cookware Set: I cook A LOT. I use these on a daily basis and I think is is absolutely vital to have good cookware. It lasts a long time and did I mention the NONSTICK part? Vital. The bigger the set, the better too! There is not a part of this set that I don't use on a weekly basis but my favorite piece is the covered skillet because it's so versatile. It's expensive, but people tend to be generous with their wedding gifting!


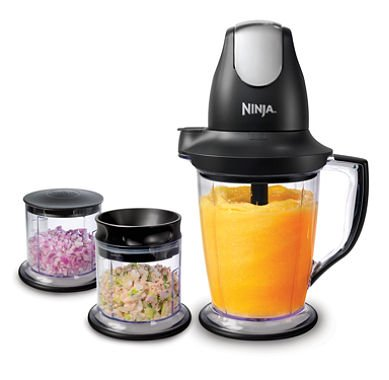
2. Ninja Food Processor/Blender: I started out with a base model that Andy bought me for Christmas and then later upgraded to this one. This is my second most-used kitchen gadget and you can do pretty much anything with it! Seriously, I have made guacamole, banana ice cream, chopped pretty much everything and even made baby food in this thing! This could replace a regular blender, food processor, smoothie maker, baby food machine, you name it. You could have so.much.extra counter space freed up!

3. Wii U: This one might seem a little silly to register for, and Andy really did try to sneak some stuff like this on our registry, but it is another thing that we use every day. And not just because we REALLY like to play Mario Kart. We don't have cable since we cut back on unnecessary costs several years ago so we use Netflix through the Wii U for all of our television viewing and most of our movie nights. Right now, we're working through Dexter and I'm watching Orange is the New Black on my own.


Register for these items - I highly doubt you will regret it! Do you have anything that you put on your registry that you couldn't live without? Any recommendations for my sister putting hers together? I'd love to hear your input.

So which one will I buy Jenn for her wedding gift? We'll see! 

**Disclosure statement